A shader is a piece of code that runs on your graphics card, and determines how triangles are drawn on the screen! Typically, a shader is composed of a vertex shader, for placing vertices in their final location the screen, and a pixel shader (generally referred to as a ‘fragment shader’) to choose the exact color on the screen! While shaders can often look very confusing at a first glance, they’re ultimately pretty straightforward, and can be a really fun blend of math and art!
Creating your own shaders, while not particularly necessary with all the premade ones running about, can lend your game a really unique and characteristic look, or enable you to achieve beautiful and mesmerizing effects! In this series, I’ll be focusing on shaders for mobile or high-performance environments, with a generally stylized approach. Complicated lighting equations are great and can look really beautiful, but are often out of reach when targeting mobile devices, or for those without a heavy background in math!
In Unity, there are two types of shaders, vertex/fragment shaders, and surface shaders! Surface shaders are not normal shaders, they’re actually “magic” code! They take what you write, and wrap it in a pile of extra shader code that you never really get to see. It generally works spectacularly well, and ties straight into all of Unity’s internal lighting and rendering systems, but this can leave a lot to be desired in terms of control and optimization! For these tutorials, we’ll stick to the basic vertex/fragment shaders, which are generally /way/ better for fast, un-lit, or stylized graphics!
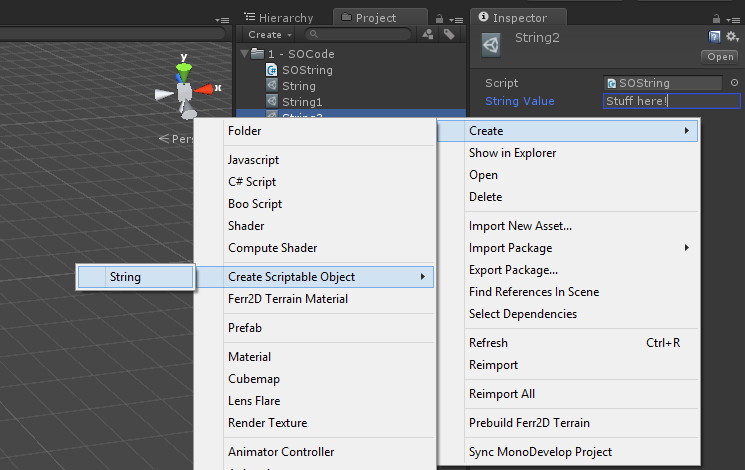
You can create a simple vertex/fragment shader in Unity by right clicking in your Project window->Create->Shader->Unlit Shader! It gives you most of the basic stuff that you need to survive, but here I’m showing an even more stripped down shader, without any of the Unity metadata attached! This won’t compile by itself, it does need the metadata in order to work, but if you put this in between the CGPROGRAM and ENDCG tags, you should be good to go! (Check here for how the full .shader file should look!)
#pragma vertex   vert
#pragma fragment frag

#include "UnityCG.cginc"

struct appdata {
 float4 vertex :POSITION;
};
struct v2f {
 float4 vertex :SV_POSITION;
};

v2f vert (appdata data) {
 v2f result;
 result.vertex = mul(UNITY_MATRIX_MVP, data.vertex);
 return result;
}

fixed4 frag (v2f data) :SV_Target {
 return fixed4(0.5, 0.8, 0.5, 1);
}
Breaking it down:
#pragma vertex   vert
#pragma fragment frag
The first thing happening here, we tell CG that we have a vertex shader named vert, and a pixel/fragment shader named frag! It then knows to pass data to these functions automatically when rendering the 3D model. The vertex shader will be called once for each vertex on the mesh, and the data for that vertex is passed in. The fragment shader will be called once for each pixel on the triangles that get drawn, and the data passed in will be values interpolated from the 3 vertex shader results that make its triangle!
struct appdata {
 float4 vertex :POSITION;
};
struct v2f {
 float4 vertex :SV_POSITION;
};
One of the great thing about shaders is that they’re super customizable, so we can specify exactly what data we want to work with! All function arguments and return values have ‘semantics’ tags attached to them, indicating what type of data they are. The :POSITION semantic indicates the vertex position from the mesh, just as :TEXCOORD0, :TEXCOORD1, :COLOR0 would indicate indicate texture coordinate data for channels 0 and 1, and color data for the 0 channel. You can find a full list of semantics options here! These structures are then used as arguments and return values for the vertex and fragment shaders!
v2f vert (appdata data) {
 v2f result;
 result.vertex = mul(UNITY_MATRIX_MVP, data.vertex);
 return result;
}
The vertex shader itself! We get an appdata structure with the mesh vertex position in it, and we need to transform it into 2D screen coordinates that can then be easily rendered! Fortunately, this is really easy in Unity. UNITY_MATRIX_MVP is a value defined by Unity that describes the Model->View->Projection transform matrix for the active model and camera. Multiplying a vector by this matrix will transform it from its location in the source model (Model Space), into its position in the 3D world (World Space). From there, it’s then transformed to be in a position relative to the camera view (View Space), as though the camera was the center of the world. Then it’s projected onto the screen itself as a 2D point (Screen Space)!

The MVP matrix is a combination of those three individual transforms, and it can often be useful to do them separately or manually for certain effects! For example, if you want a wind effect that happens based on its location in the world, you would need the world position! You could do something like this instead:
v2f vert (appdata data) {
 v2f result;

 float4 worldPos = mul(_Object2World, data.vertex);
 worldPos.x += sin((worldPos.x + worldPos.z) + _Time.z) * 0.2;

 result.vertex = mul(UNITY_MATRIX_VP, worldPos);
 return result;
}
Which transforms the vertex into world space with the _Object2World matrix, does a waving sin operation on it, and then transforms it the rest of the way through the View and Projection matrices using UNITY_MATRIX_VP! For a list of more built-in shader variables that you can use (like _Time!) check out this docs page!
fixed4 frag (v2f data) :SV_Target {
 return fixed4(0.5, 0.8, 0.5, 1);
}
And last, there’s the fragment shader! This takes the data from the vertex shader, and decides on a Red, Green, Blue, Alpha color value. Alpha being transparency, but we’ll need to dig through Unity’s metadata for that! In this case, we’re just returning a simple color value, so it’s a solid value throughout! Here, you may notice the return value is a fixed4 rather than a structure, but note that it still uses the :SV_Target semantic for the return type at the end of the function definition! If you’re wondering the difference between float4 and fixed4, it’s basically 128 bits of accuracy vs 32 bits, more on that later, but we only really need to return 32 bits of color data back to the graphics card!
Again though, we can do cool math with this too! In this case, just attach the x and y axes to the R and G channels of the color!
fixed4 frag (v2f data) :SV_Target {
 return fixed4(
  (data.vertex.x/_ScreenParams.x)*1.5,
  (data.vertex.y/_ScreenParams.y)*1.5,
  0.5,
  1);
}
So that’s the basics of the syntax for creating shaders in Unity! You can do a fair bit with this already, but the real fun bits come in when you tie into Unity’s inspector, using textures for color and data, and a bit of graphics specific math! We’ll get into that next time, but for now, here are the final shader files with their Unity metadata wrapper which were used to create the screenshots you see here!